

Best Practices for Booking Flights — and Flying Stress-Free!
Booking flights for your next great adventure can be super exciting! … It can also be incredibly frustrating. Here are some of our best practices for not only booking your international flights but successfully navigating through the flying process, as well!

When Booking Flights
Look for a minimum 2-hour layover for all international connections; ideally, your layover is closer to 3 hours. This helps insure against complications from delays (ex: missed connections) and increases the likelihood that your checked luggage makes it to your destination on time!
Whenever possible, book one ticket for the whole trip. For example, book your flight between home and your destination with one carrier (ex: Delta, American, United, etc.) rather than booking different flights with different carriers.
Book the fewest connections possible, even if it's a little more expensive.
If budget allows, consider upgrading to Premium Economy or even Business Class. These more spacious seats can help reduce the effects of jetlag tremendously!
After booking your flight, see if the airline offers discounted options for cabin upgrades – especially for overnight flights!
For international flights arriving at your final destination before 9am, consider booking a hotel room the night before to guarantee immediate check-in.
When taking an overnight flight, see if you can find a flight that arrives at your final destination sometime around mid-to-late afternoon (if possible). That way you can go through the entry process (see below), enjoy your transfer to the hotel, freshen up, grab dinner, and pass out. This helps offset jetlag and sets you up for success for the rest of your journey!
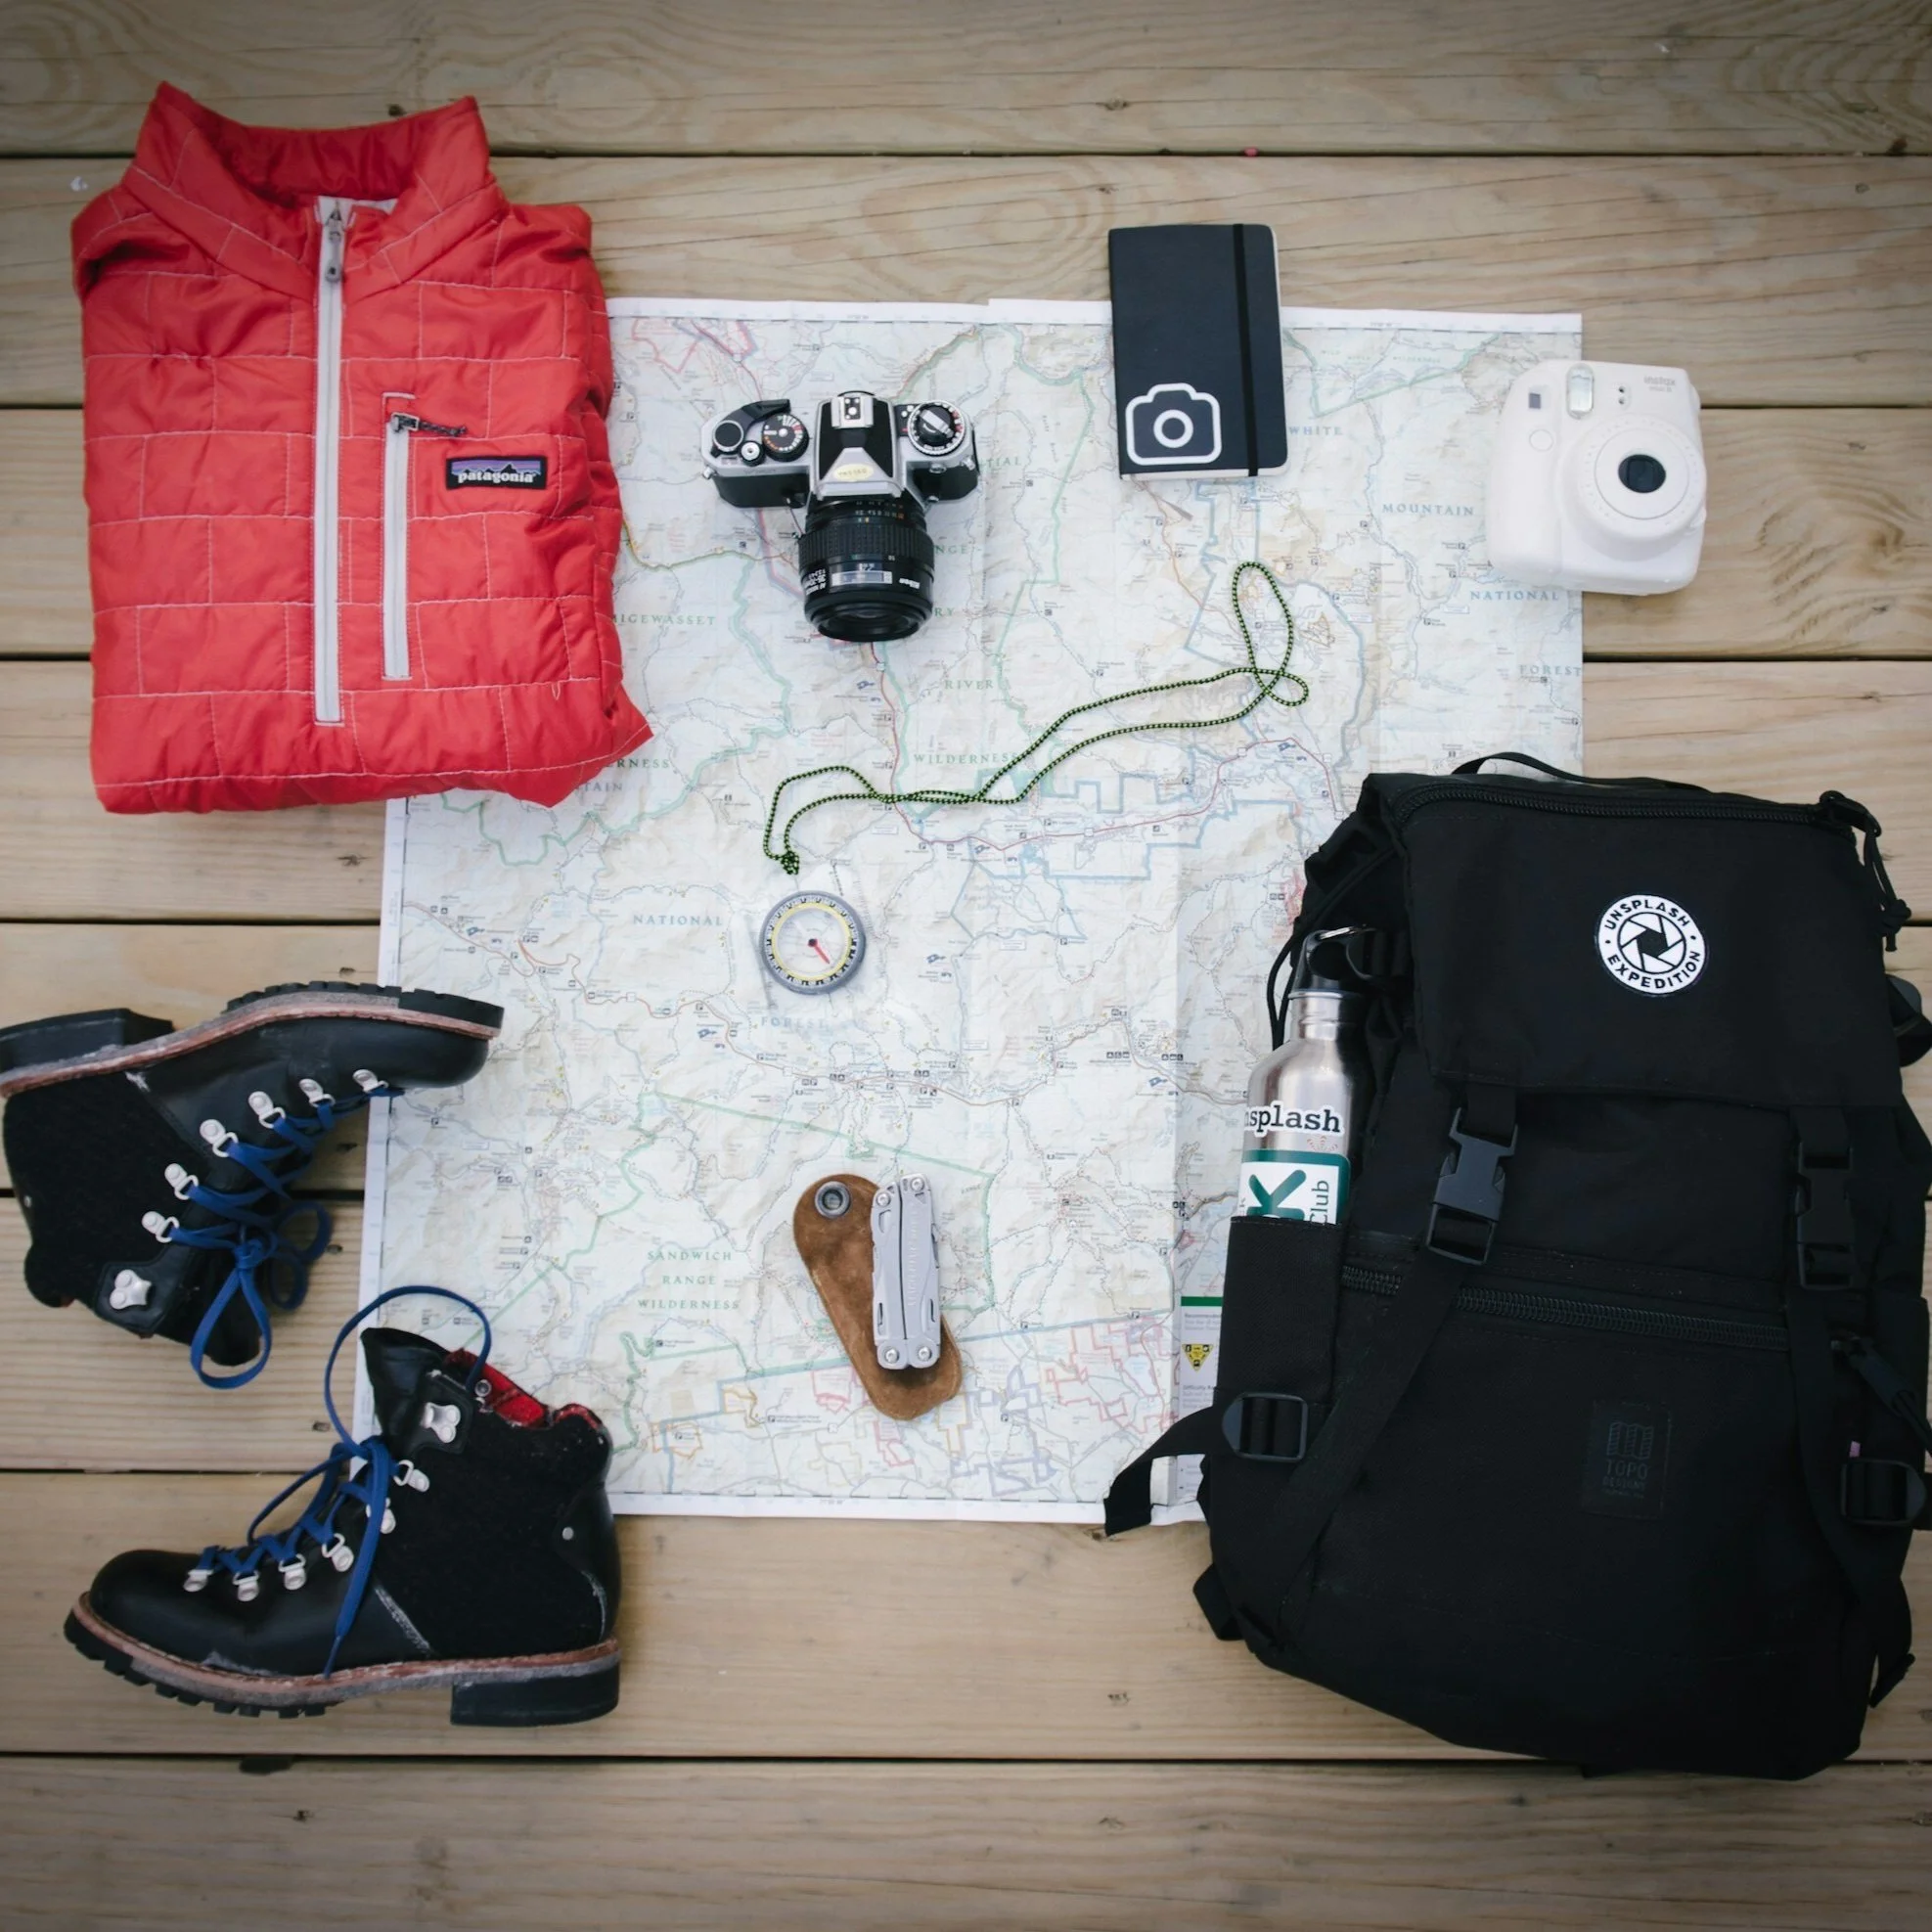
Packing for Your Flight
Do your best not to check a bag (if possible); if you DO check a bag, our recommendation is as follows: 1 checked bag per 2 travelers plus one carry-on per person with 3 days worth of clothes — especially underwear and socks — just in case your checked bags don’t make it there on time.
Always put an Apple AirTag (or similar) in any checked luggage so that you know where your bags are at all times. (We like to put an AirTag in all of our bags — even carry-on bags — just in case they inadvertently wander off with someone else.)
Be sure to bring any medications and valuable items with you in your carry-on luggage; do not put them in checked luggage if you can avoid it. (Note: Depending on where you are going, consider leaving your "flashy" jewelry at home to avoid unwanted attention.)
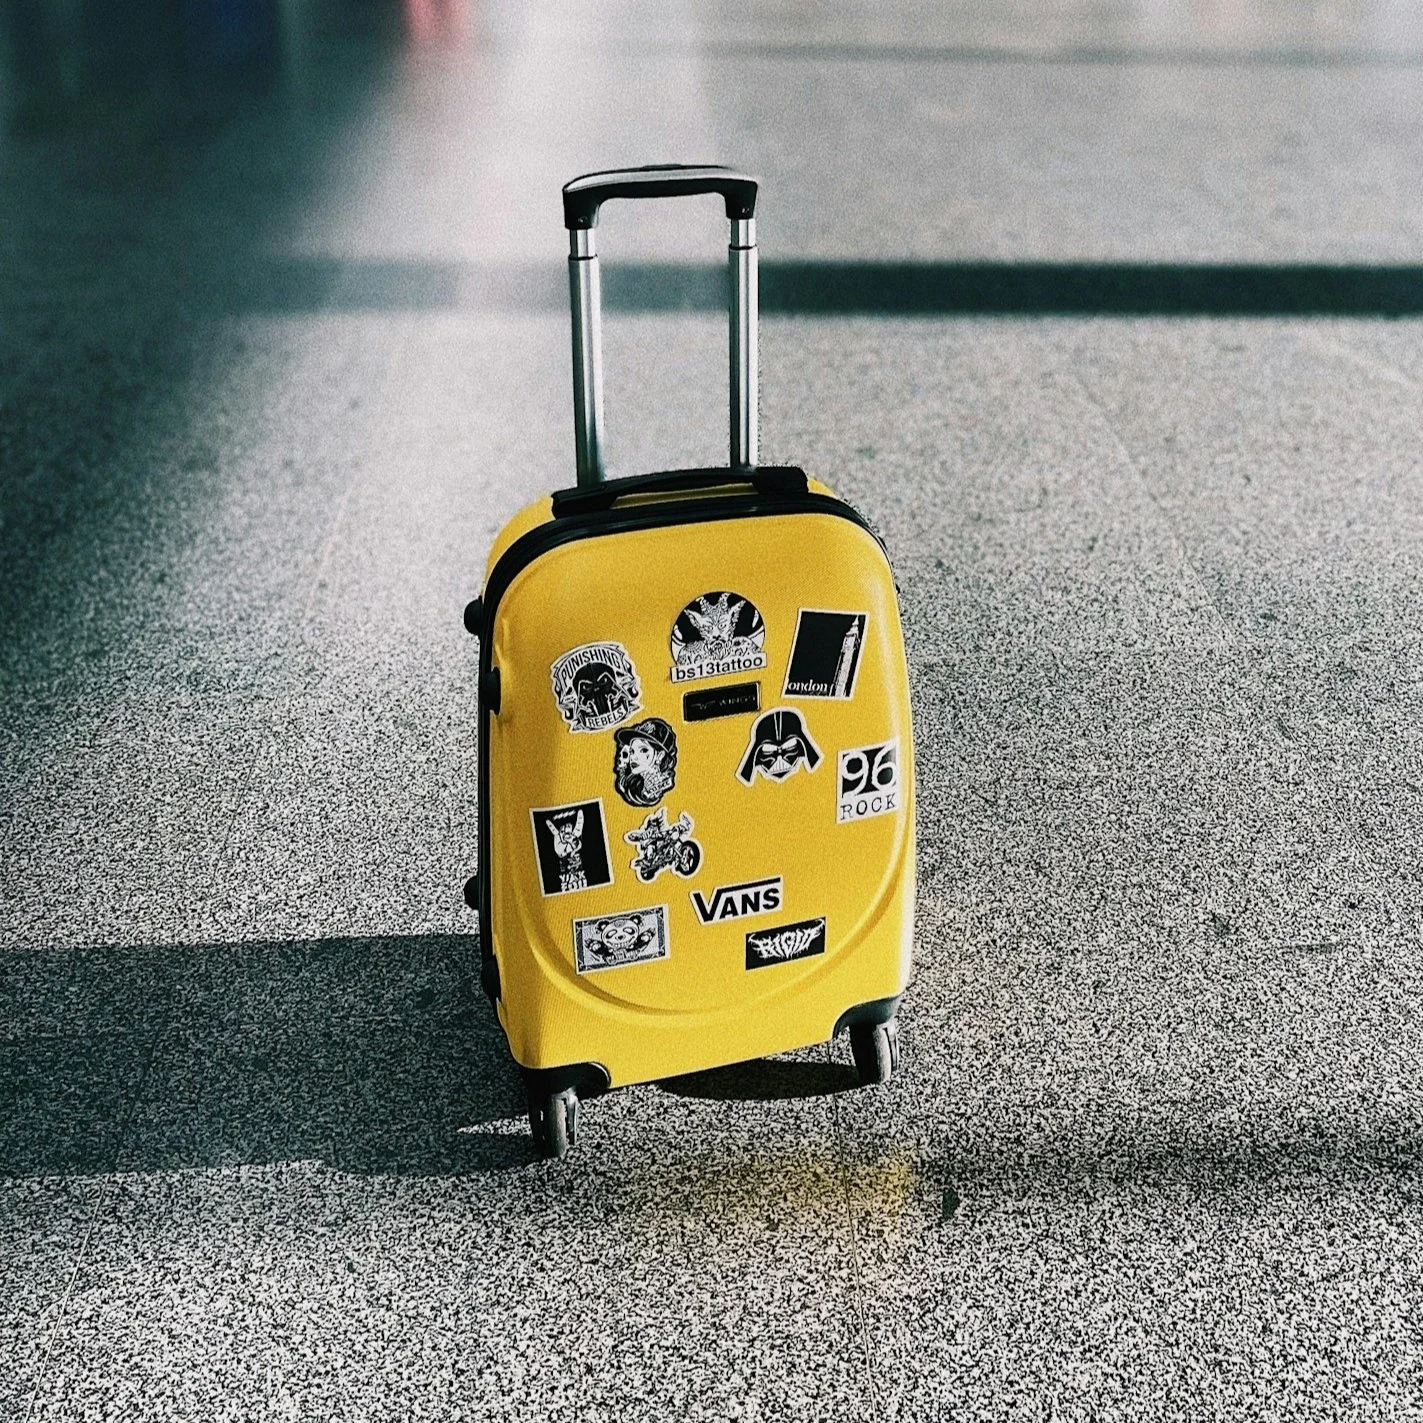
At the Airport: Take Photos of Your Bags!
For any luggage that you are checking in, we recommend the following:
– Take a photo of your bag before you place it on the baggage belt. If your bag does end up getting misplaced, you’ll need to describe it (in painstaking detail), so having a new photo of your bag will help with that!
– Take a photo of the bag tag with your – and the bag’s – final destination on it as well as the little sticker with the bar code you receive as your receipt. (These are very easy to lose but important if your bag goes astray!)
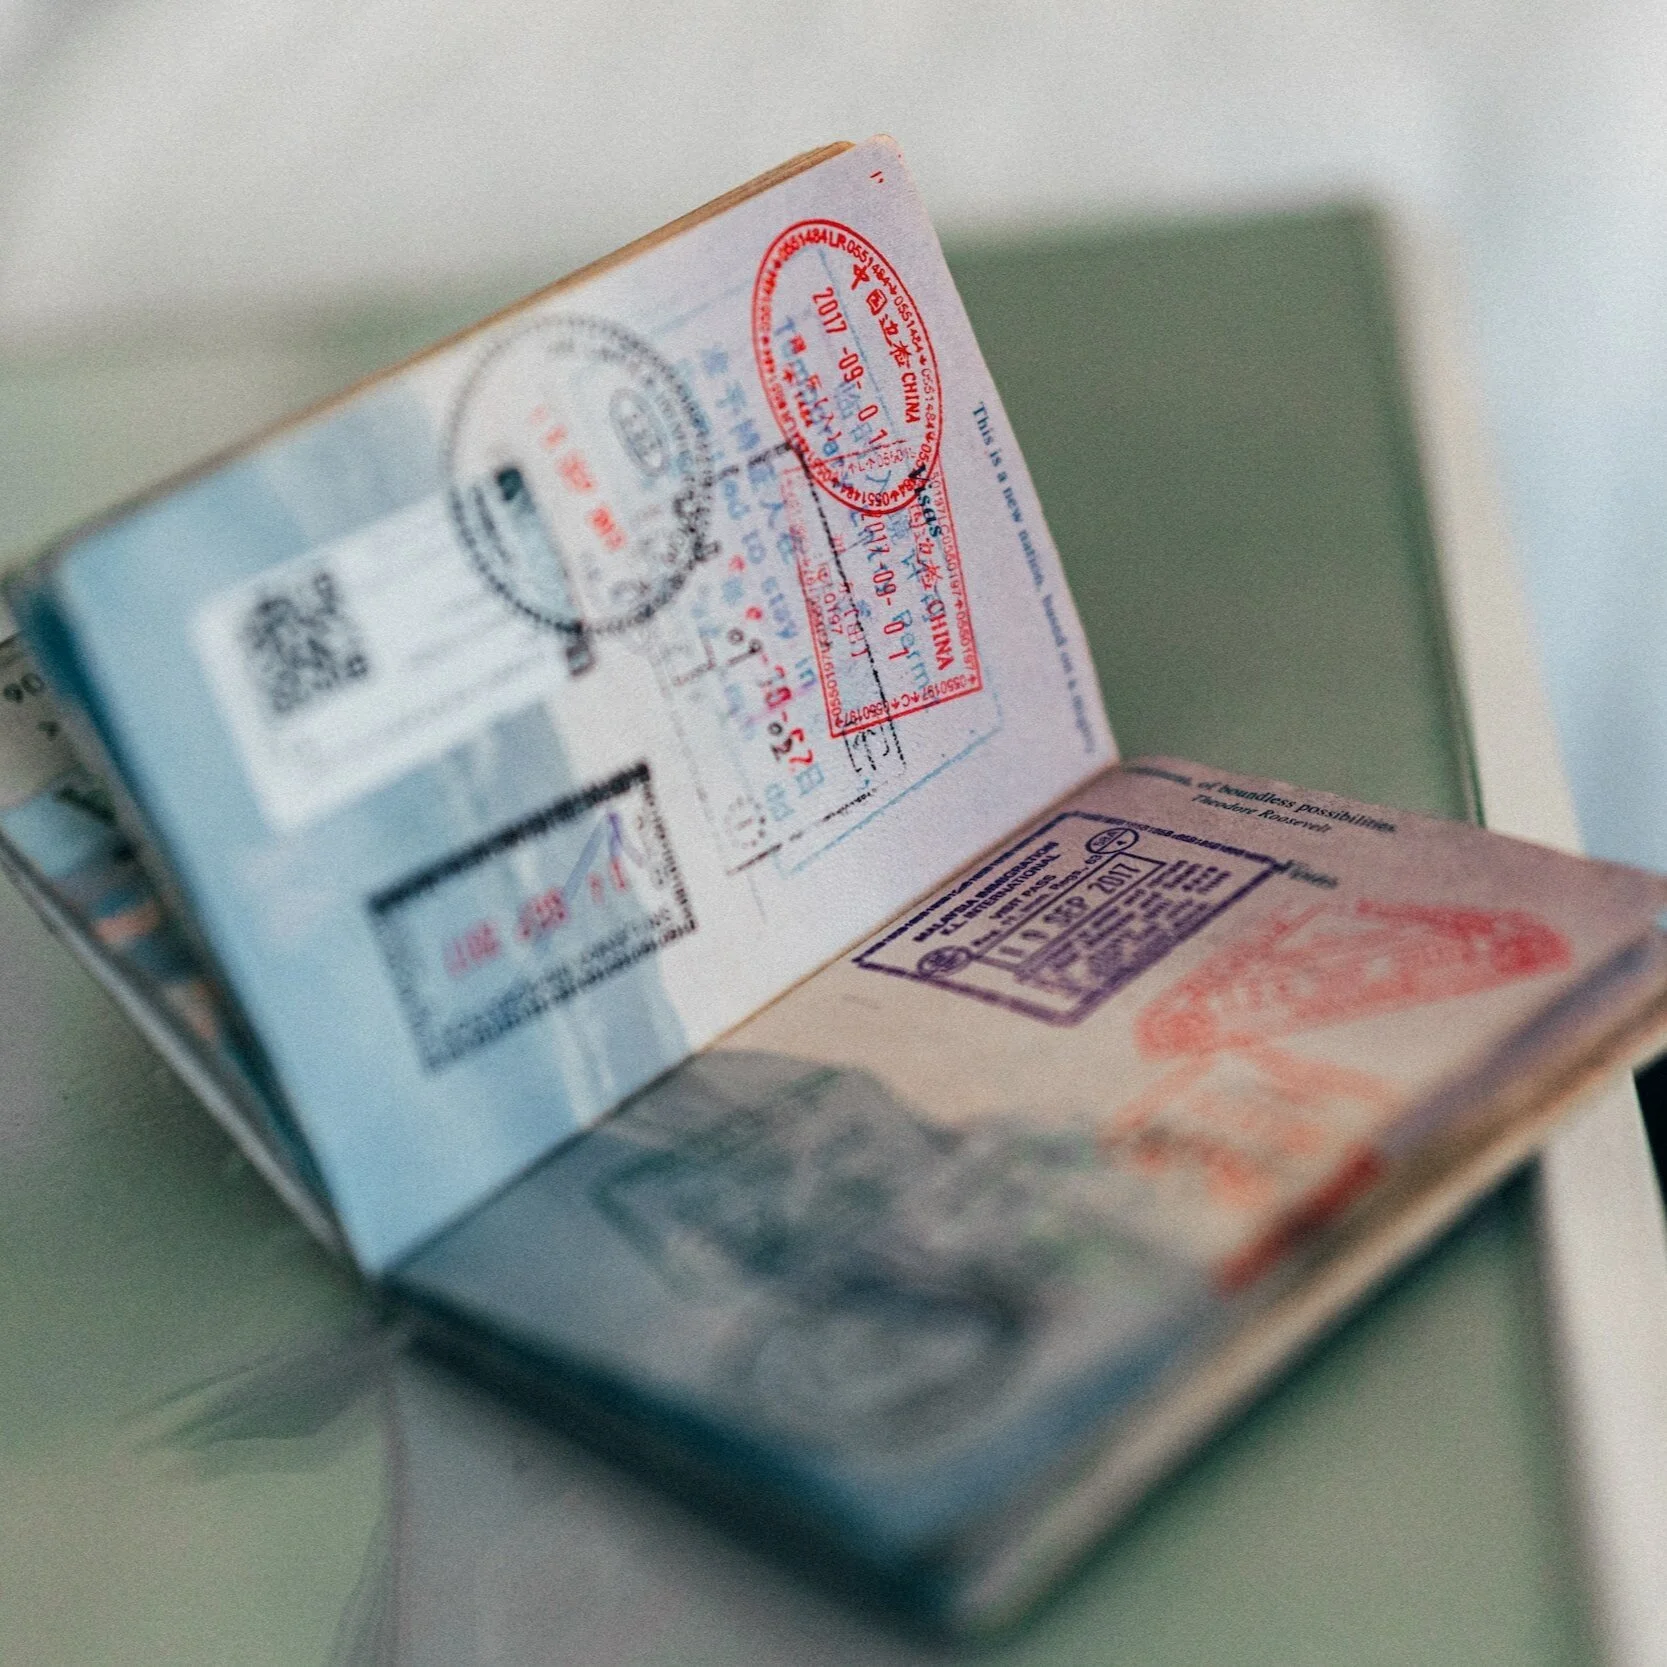
Passport Control & Immigration: What to Expect
On arrival at your final destination, the general flow is as follows: Passport Control (if you have not already done this elsewhere in the country/region) > Baggage Claim > Customs > Exit
If you have an international connection, you will need to go through Passport Control at the first port of entry to a country or region. For example, if you are flying from JFK and connecting through Paris en route to Rome, you will go through passport control in Paris as it is your first point of entry into Europe.
However, in most international destinations, you will not need to collect your luggage if you are simply connecting through. For example, if you are flying from JFK and connecting through Paris en route to Rome, your bags will meet you in Rome (even though you go through Passport Control in Paris).
On arrival back into the United States, you will need to collect your luggage and go back through security if you are connecting to another destination in the States.

What Are the Differences Between Global Entry, TSA Pre-Check, & CLEAR?
TSA Pre-Check > Expedited security within the US only; not relevant for security outside of the US
Global Entry > Expedited Passport Control when re-entering the US (also includes TSA Pre-Check)
CLEAR > Expedited security within the US only that allows you to jump to the front of the security line; not relevant for security outside of the US; can be used in combo with TSA-Pre-Check